About
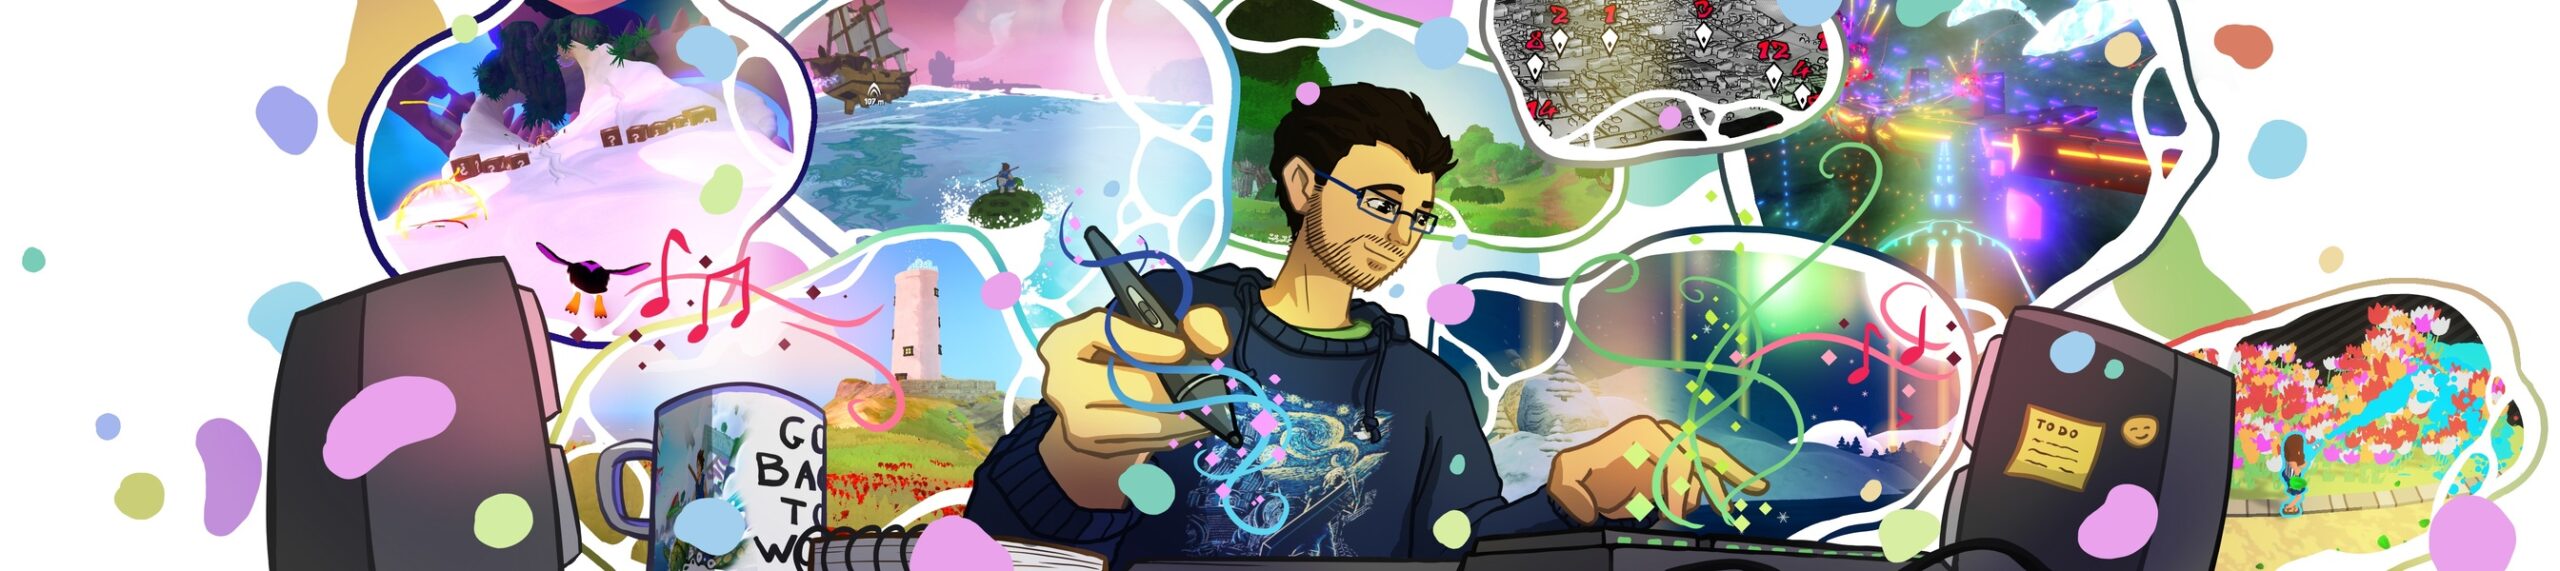
Hi ! I’m Mathias.
I’m a kid of the 80’s, and I’m in love with video game creation since then.
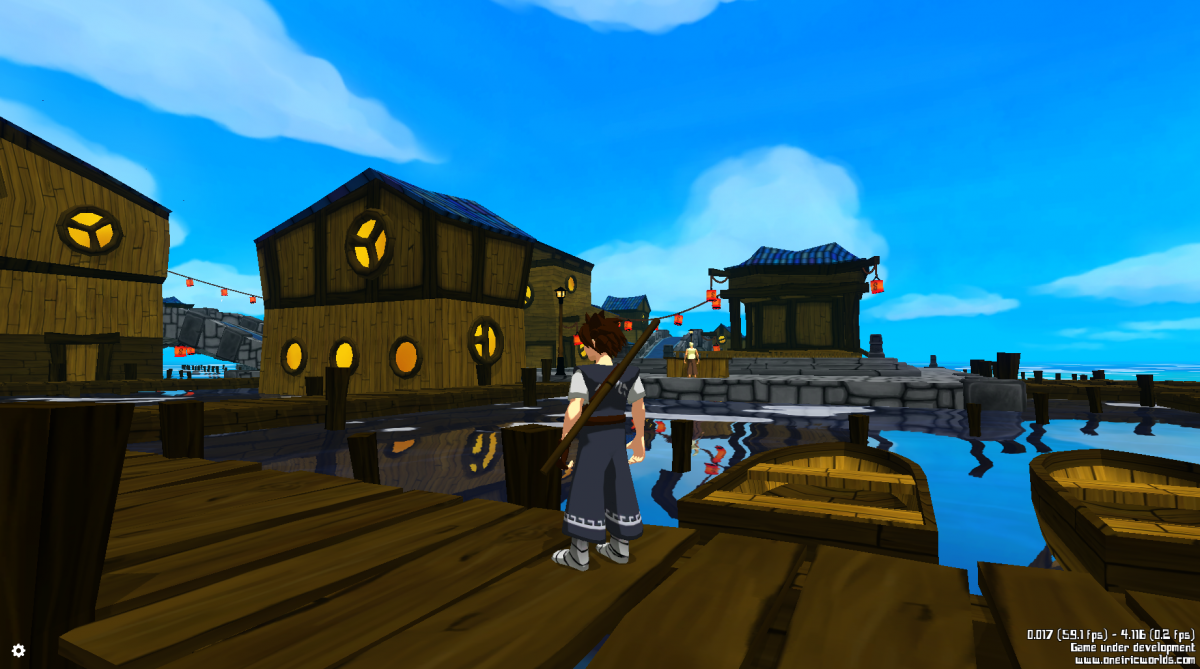
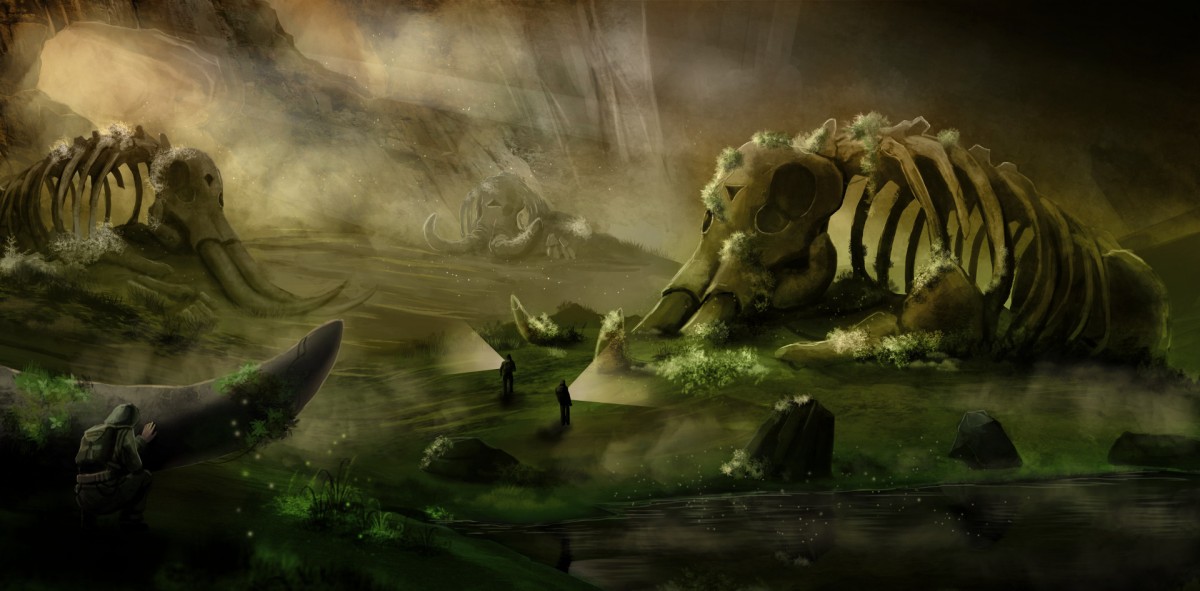
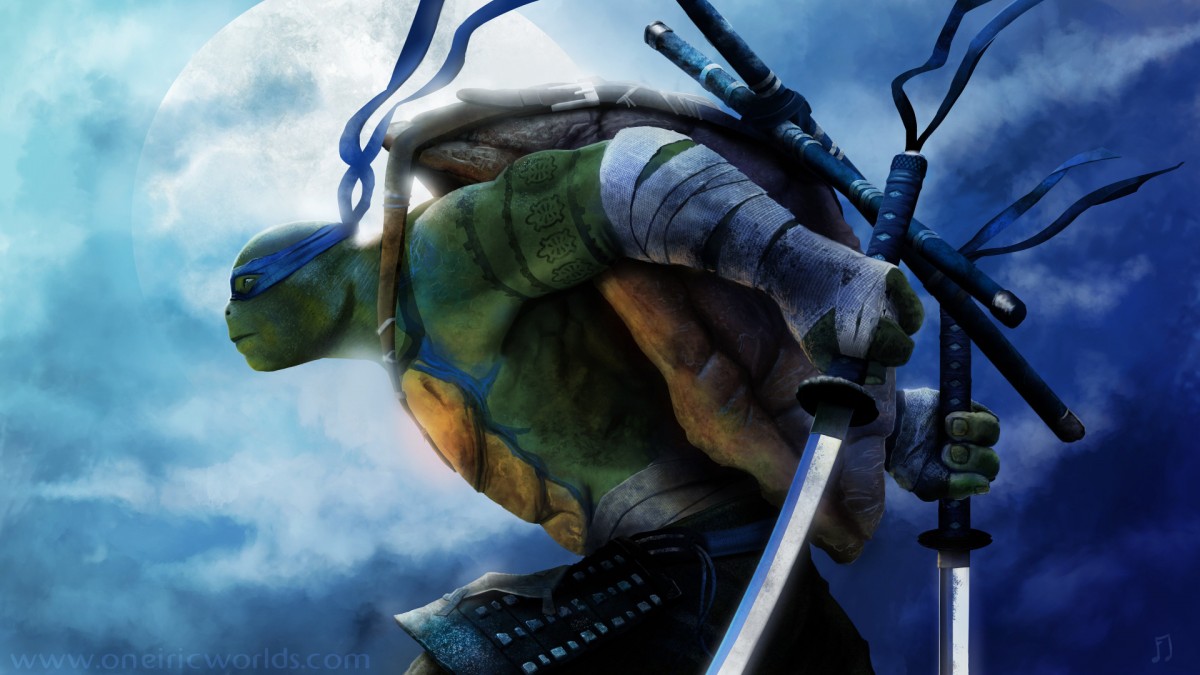
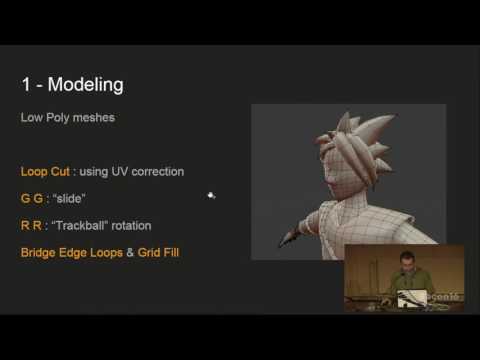
I like to code, paint, create 3D stuff and play music. Here you’ll find stuff about my games and how I make them: news, demos, tutos… I hope you’ll like it!
My Games
Buy my games if you want to support me!

Socials
Way too many I guess.
Friends
Cool people doing cool stuff!


Tags
beta Blender bugs build character content demo deploy design detail devlog festival fix flow fx game game design GIMP graphics improvement indie level level design localization marketing news npc ocean optimisation optimization paint petthedog polish prototype release sculpt sfx sound design steam steamer steam fest UI Video World of Ninjas zefyr